
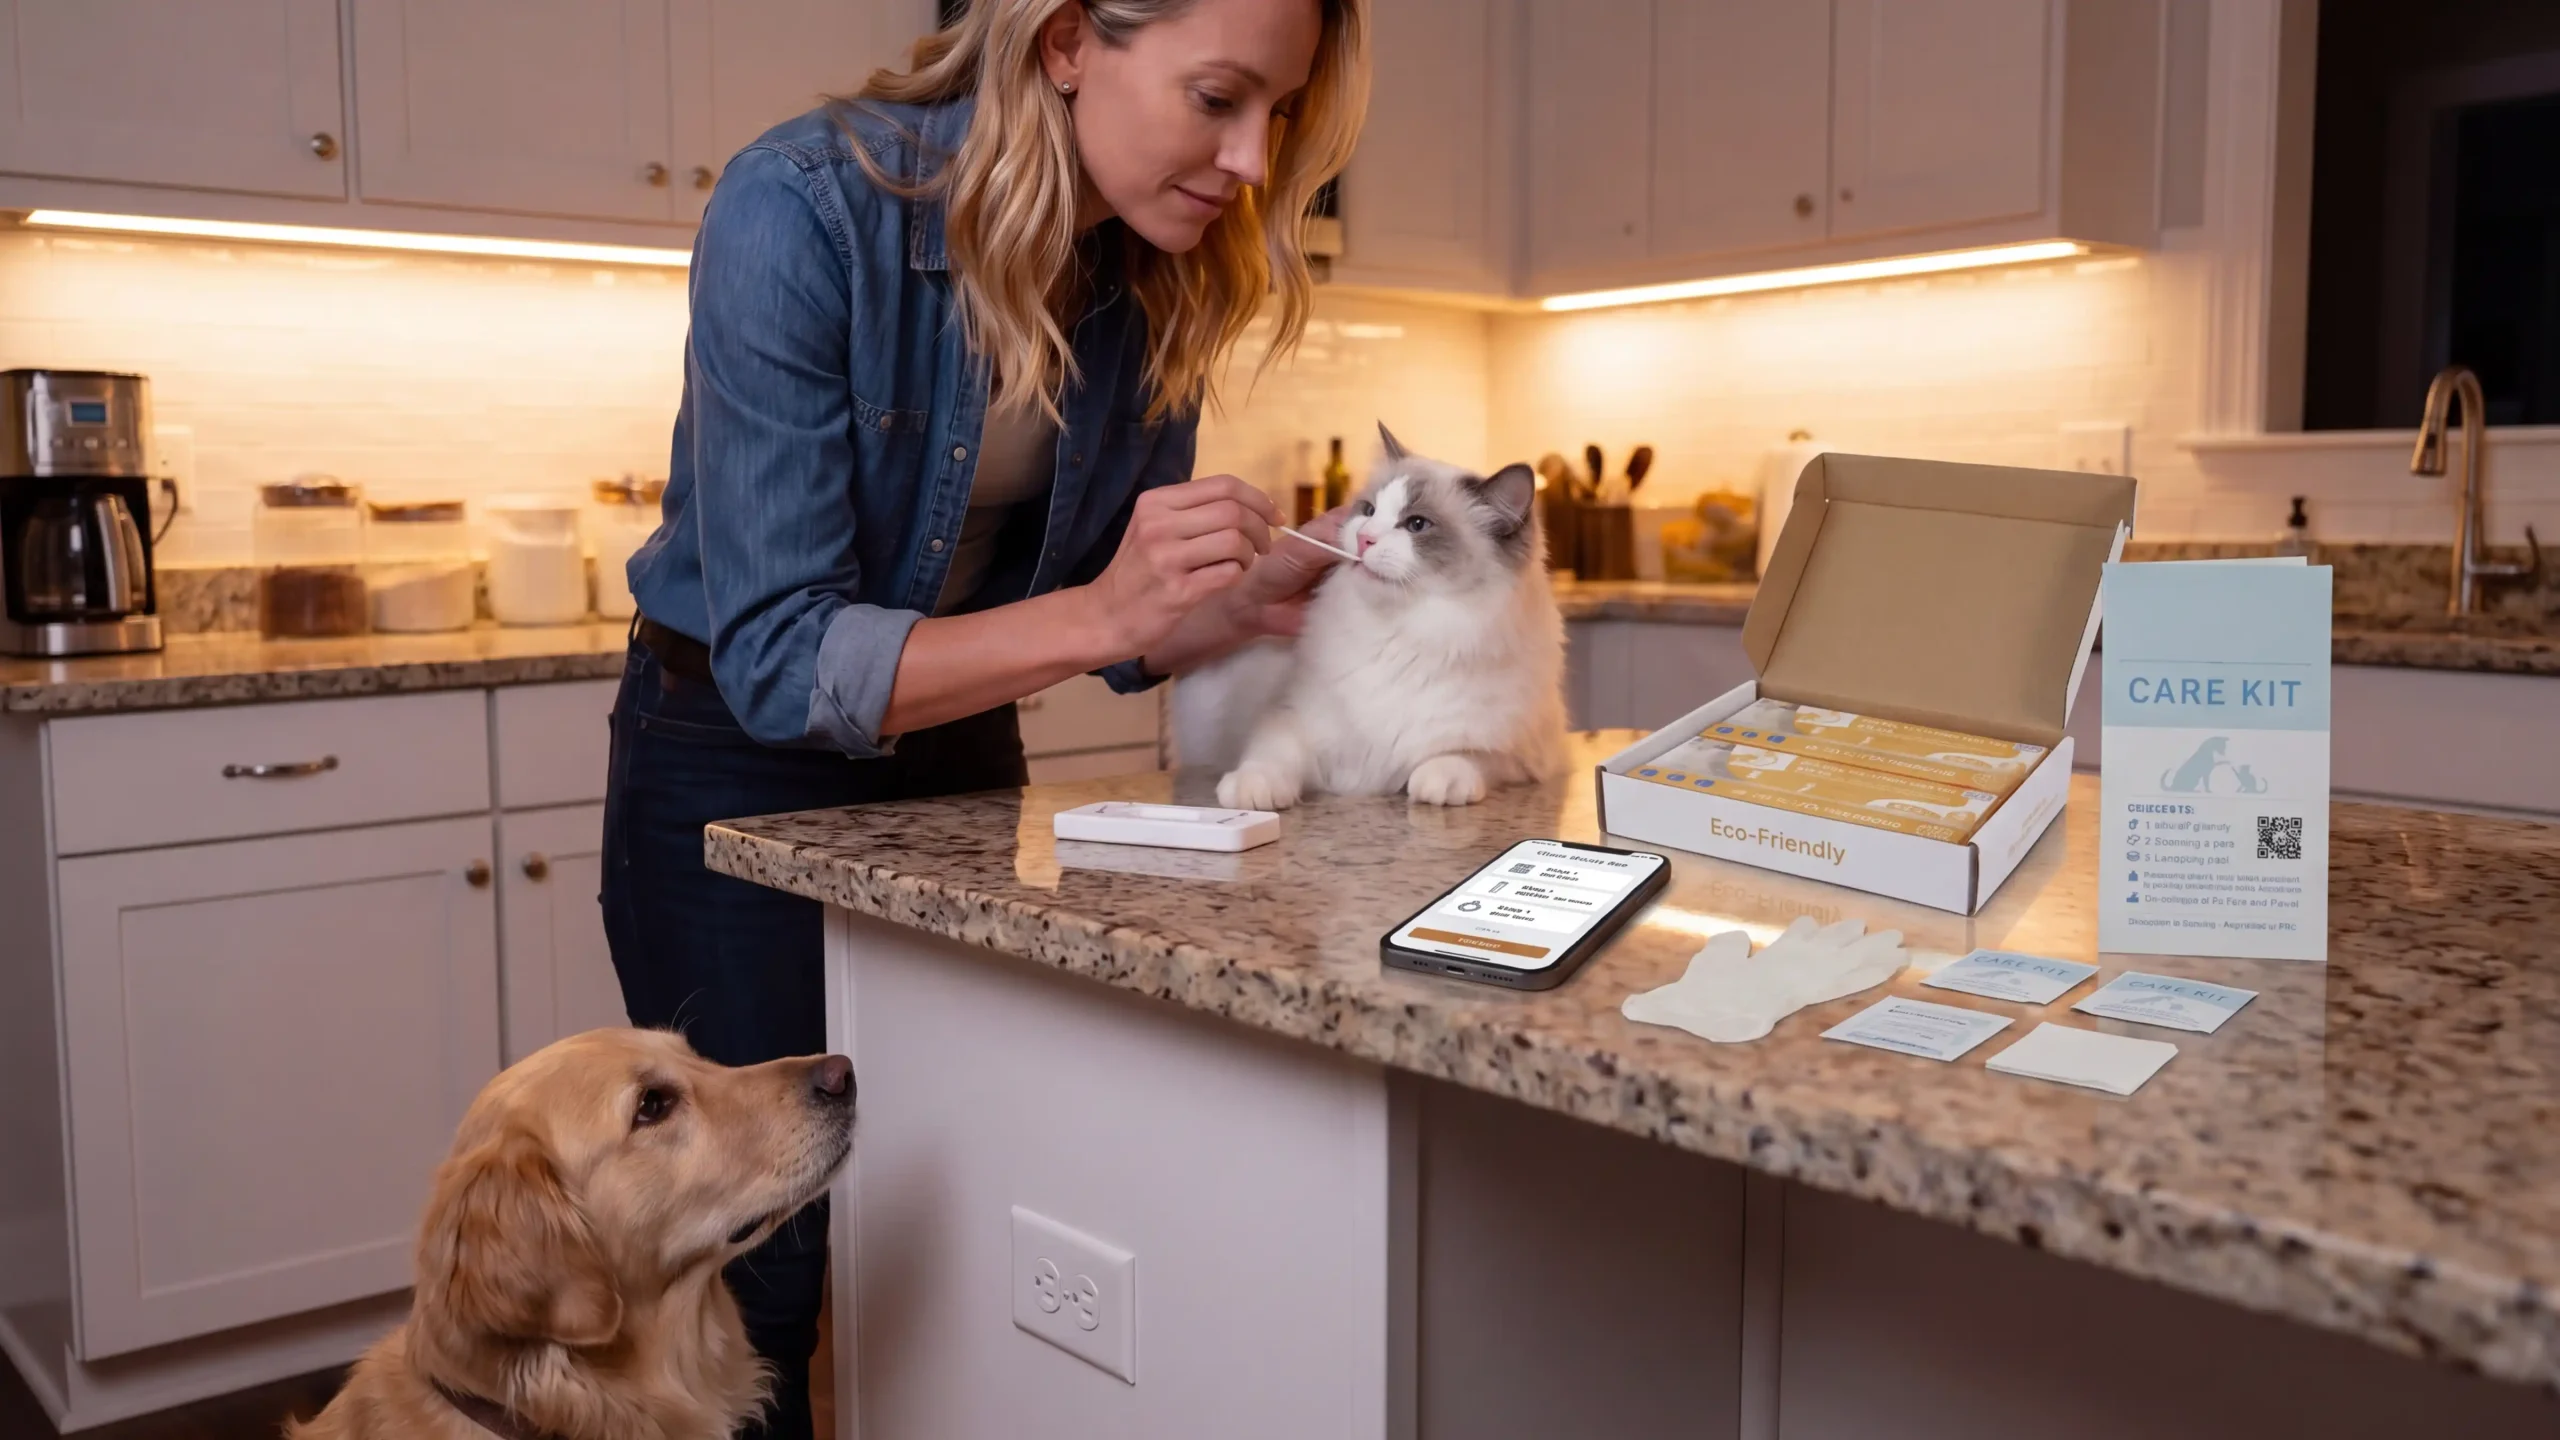
How to Use Your Test Kit
Find your kit below for step-by-step instructions, result guidance and ways to keep a record. For screening, not diagnosis. If symptoms are urgent or worsening, contact your vet before testing.

Guided Testing

Photo Records

Follow-up Notes

Share with Your Vet
Find Your Kit & Guide
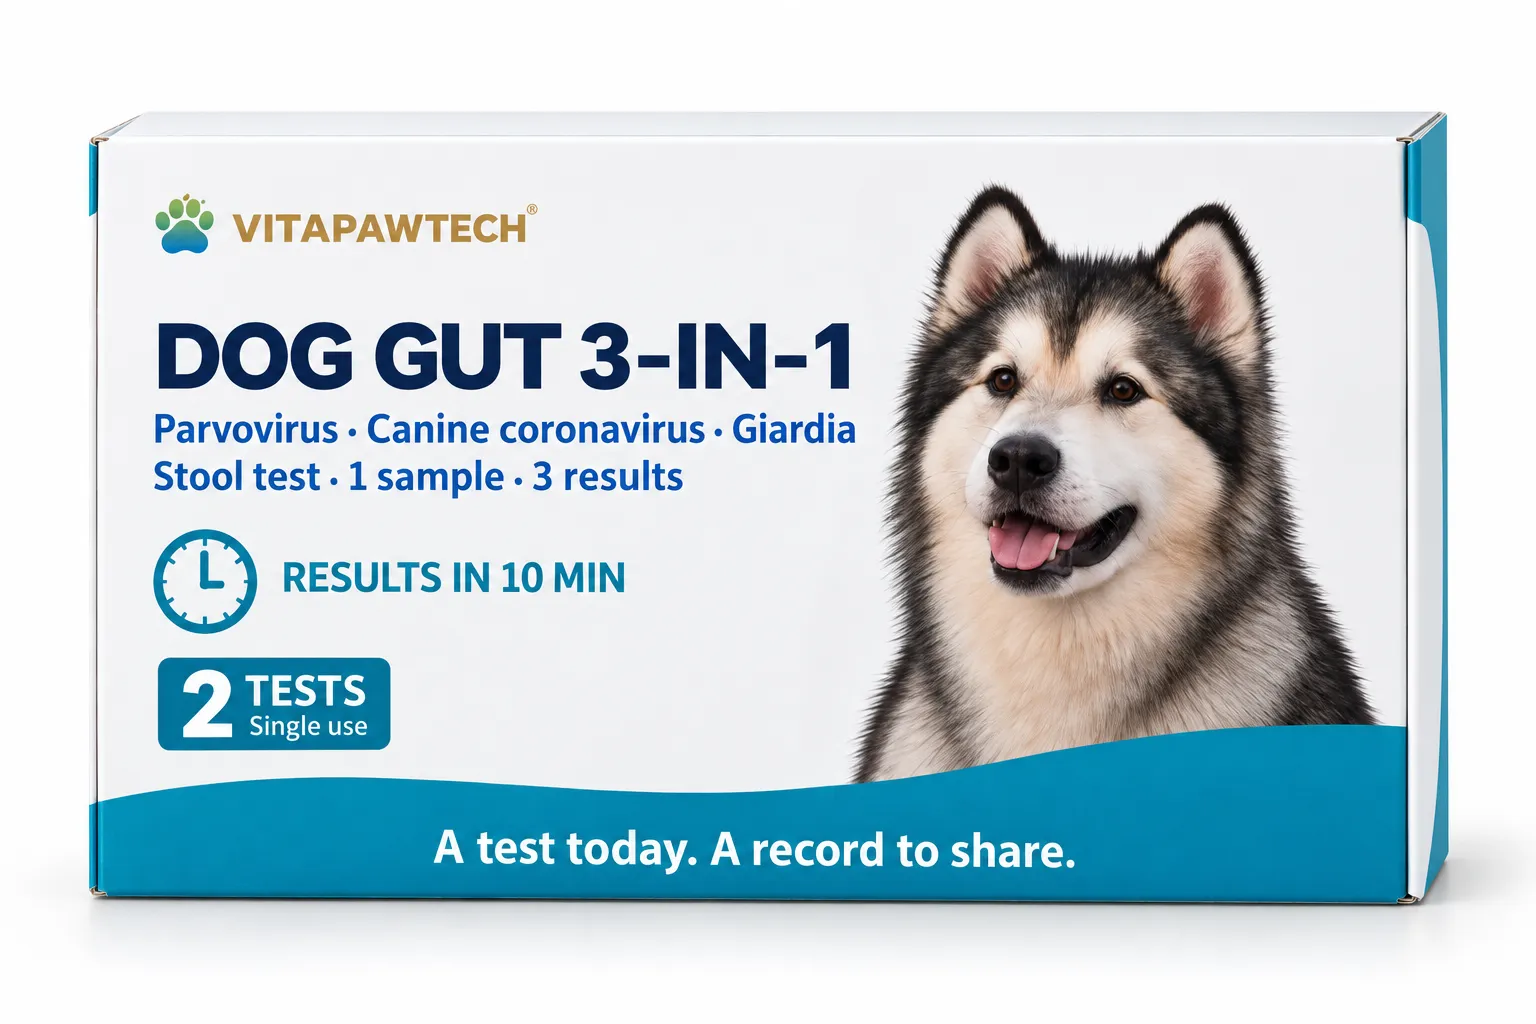
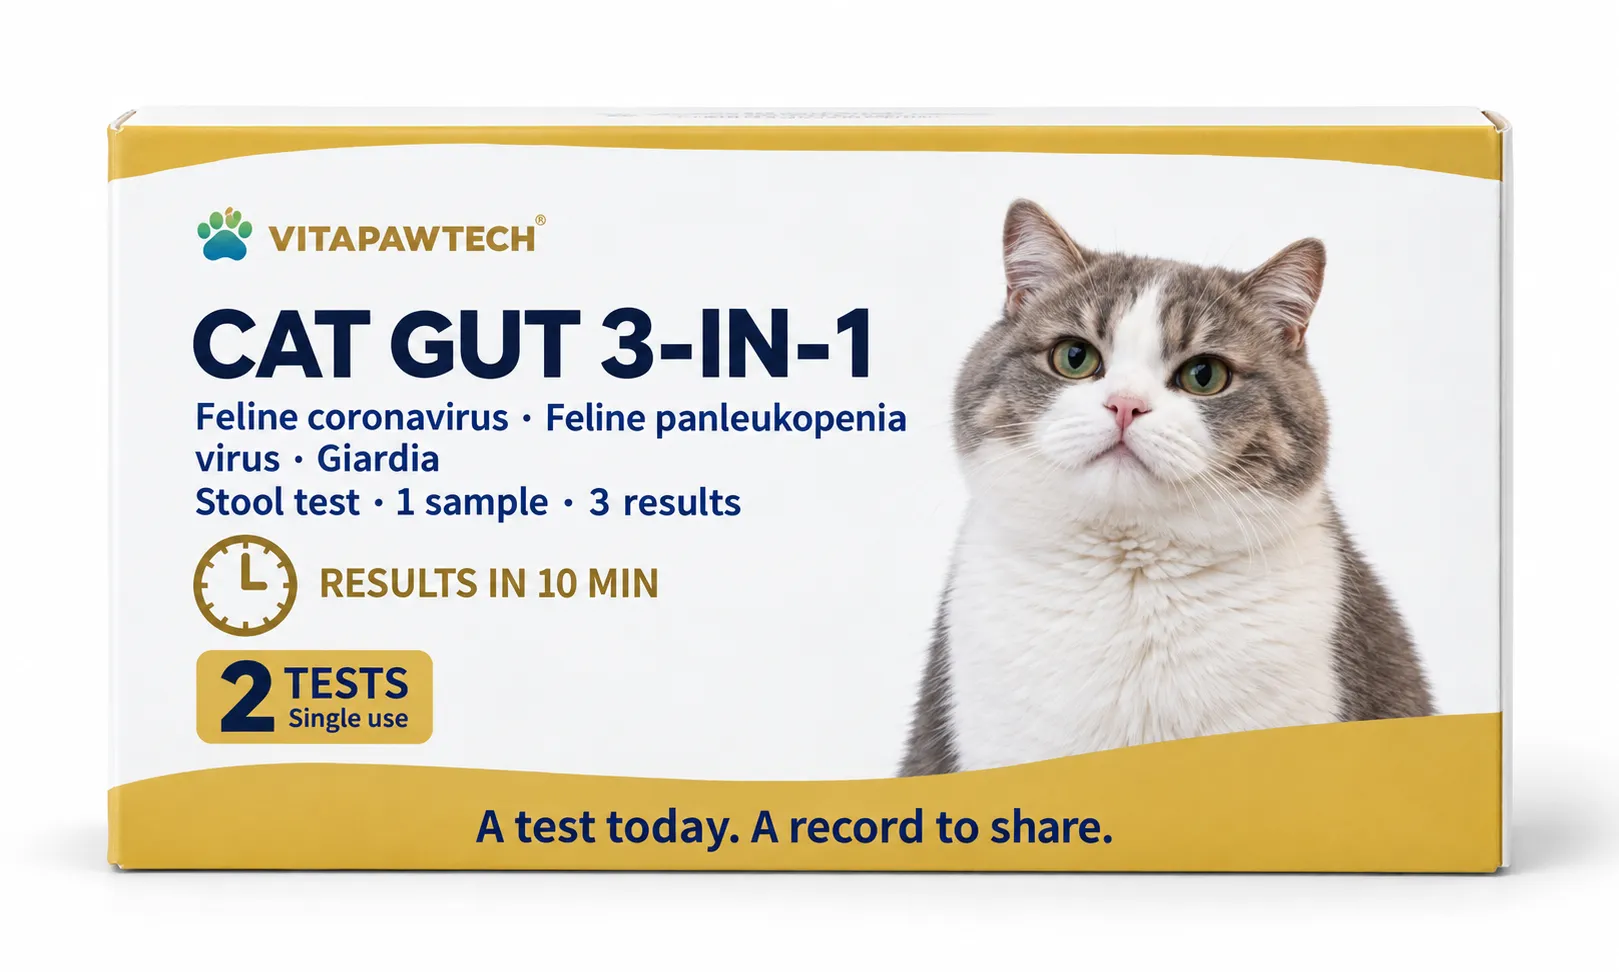
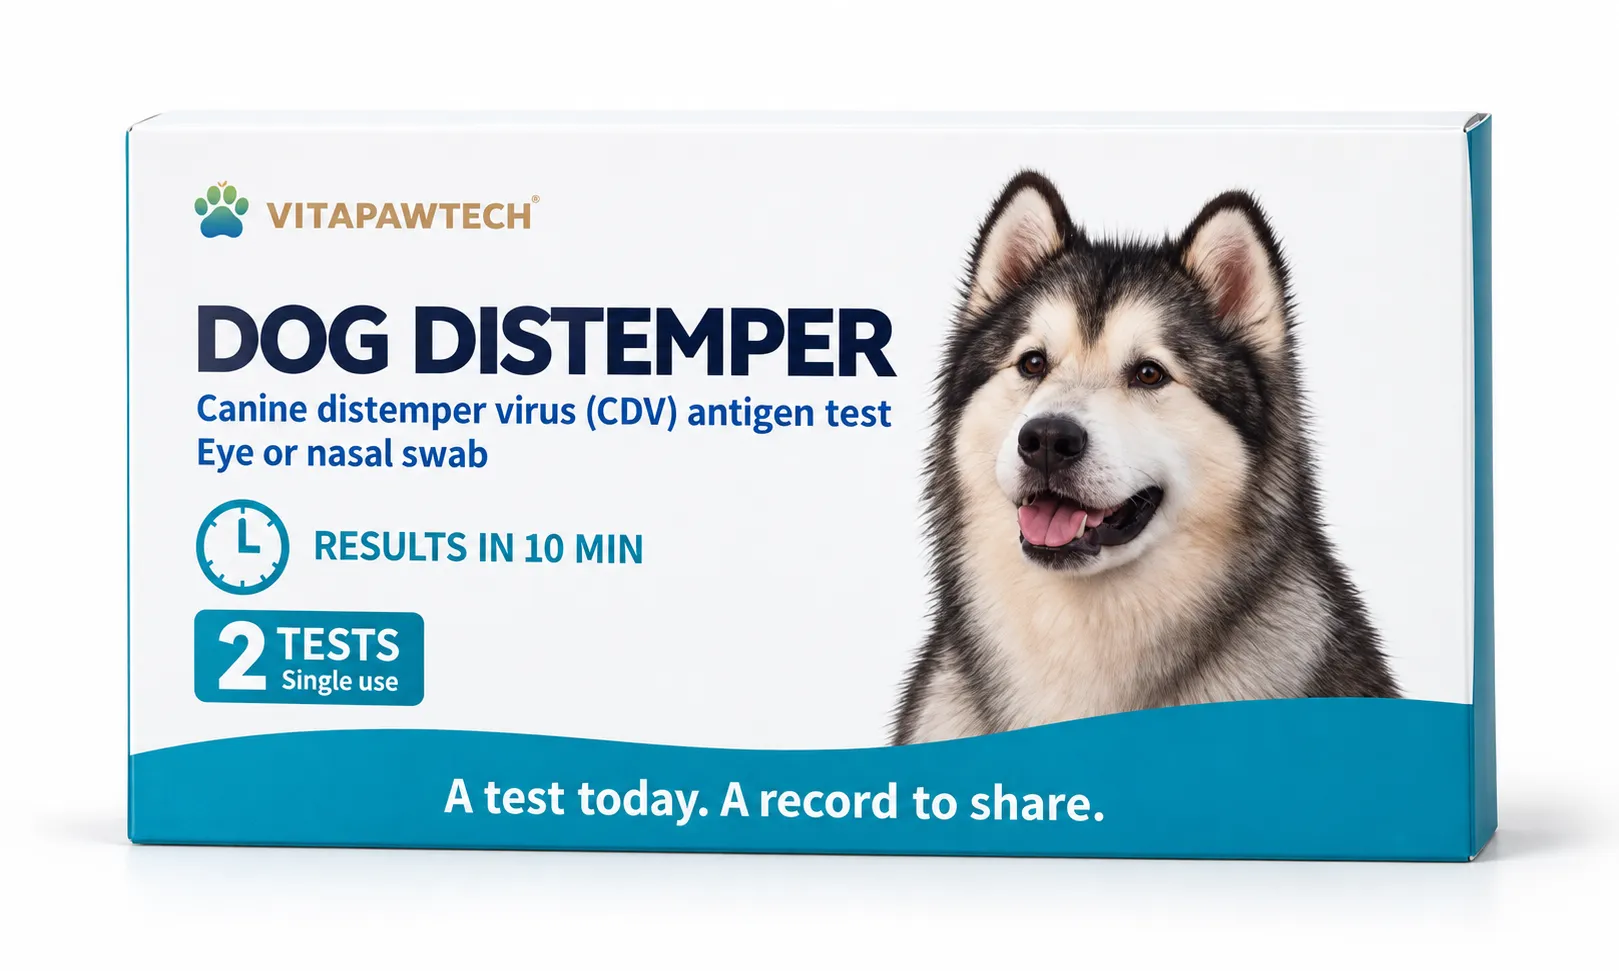
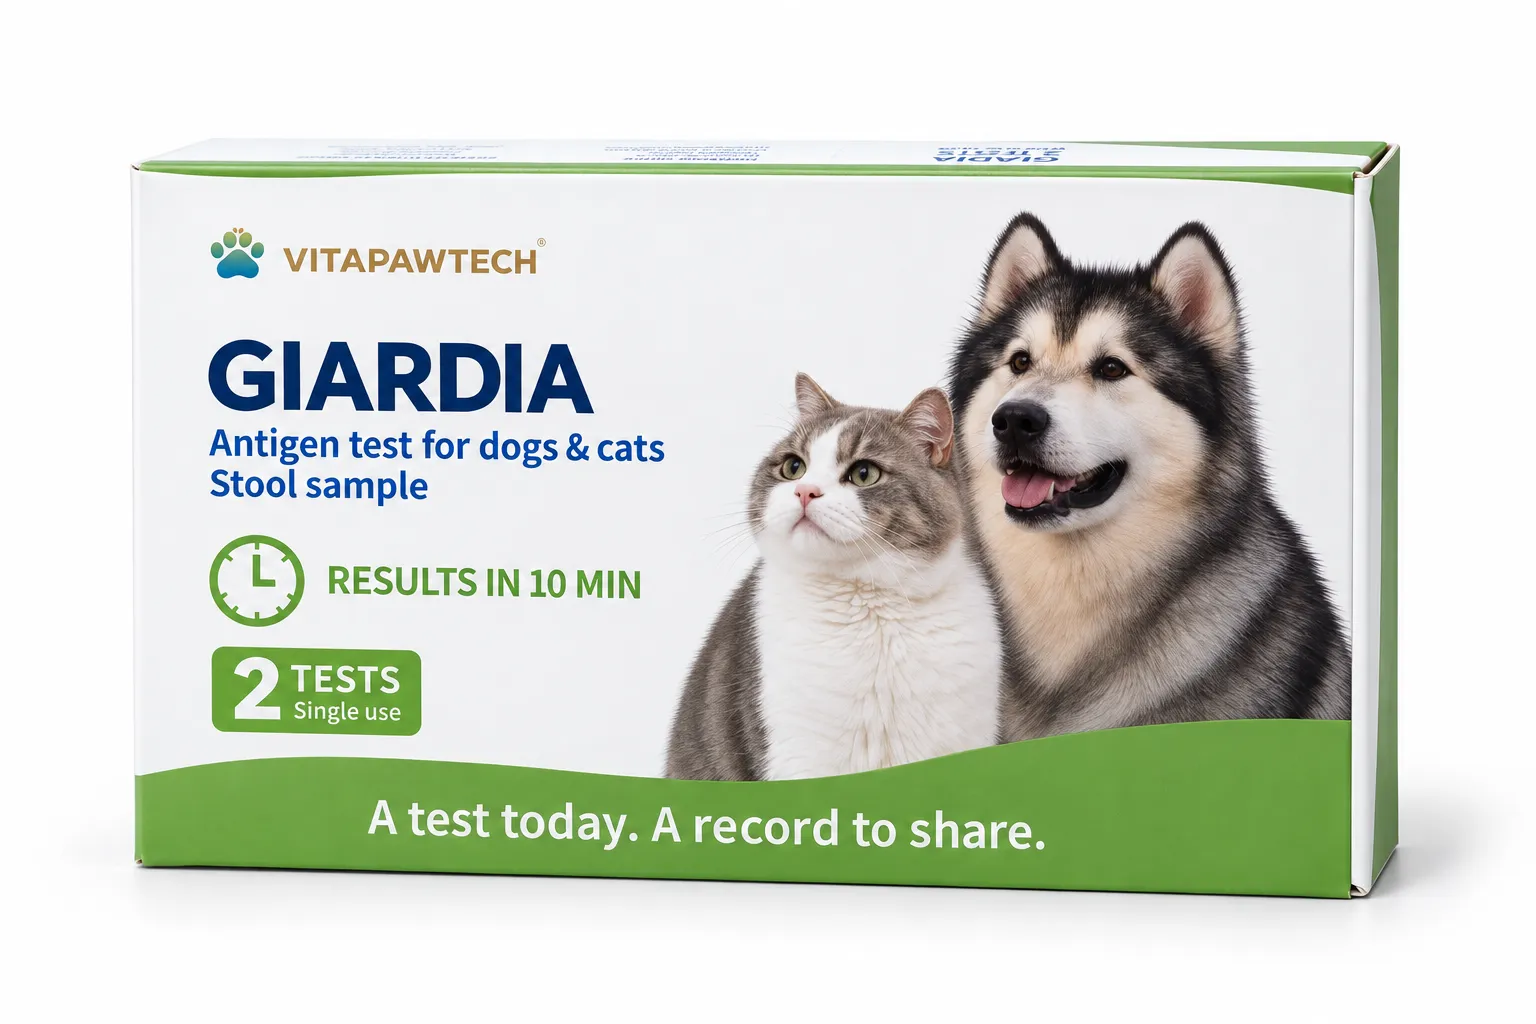
Compare the tests below, or match the name and photo to your box.
How to Test
Before you start: Check the expiry date and make sure the pouch is intact. Use a clean, flat surface and have a timer ready.
Step 1
Prepare
Read the instructions for your kit and lay out the materials.
Step 2
Collect
Collect and prepare the sample as shown in your kit guide.
Step 3
Add & time
Add the specified number of drops to the correct sample well or wells. Keep the cassette flat and start the timer as directed.
Step 4
Read
Read within the time window stated in your kit instructions.
Seek urgent veterinary care for breathing difficulty or rapidly worsening symptoms, regardless of the result.
Read Your Result
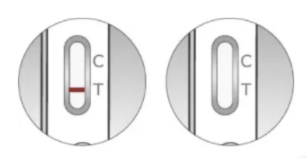
Use the diagram for your kit. For tests with several windows, check each window as instructed.
Negative
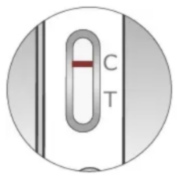
— One line at C only
A negative result cannot exclude infection or other illness. Speak with your vet if symptoms persist or exposure is a concern.
Next step:
Keep watching symptoms if they continue.
Positive
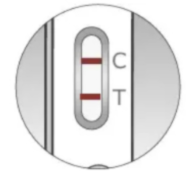
— C line and T line
Arrange veterinary follow-up for a positive result. Keep a photo to share and ask your vet about confirmation.
Next step:
Save the result and contact your vet.
Invalid
— No C line
Without the required control line, this result cannot be read. Check the instructions and repeat with a new test as directed.
Next step:
Use a new test and try again.
Save, Track & Share
Open the App
Using the app is optional. Sign in to save and return to your records.
For Care Teams
Using the app is optional. Sign in to save and return to your records.
 English
 German
 French
 Spanish
 Chinese